
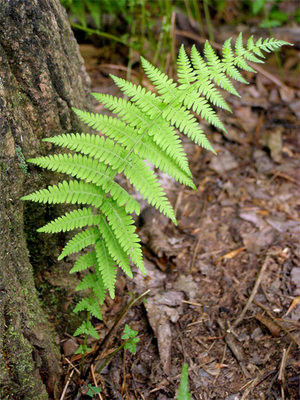
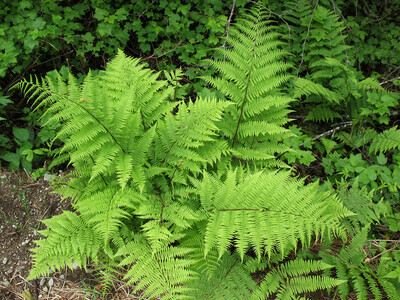
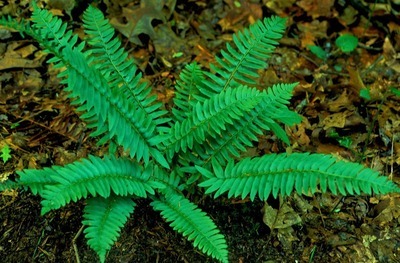
 Native Ferns
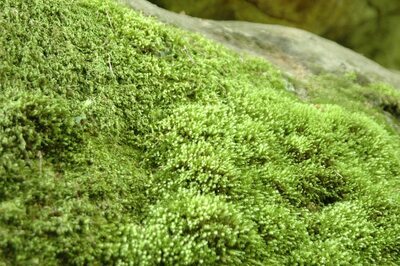 Native Mosses
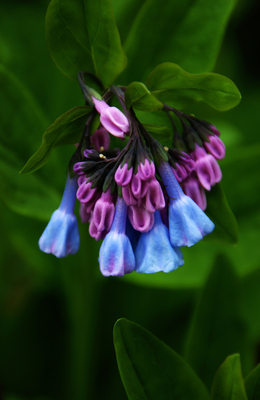 Native Perennials
 Native Ground Covers
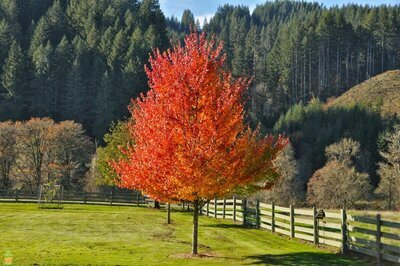
 Native Trees
 Shop By Zone
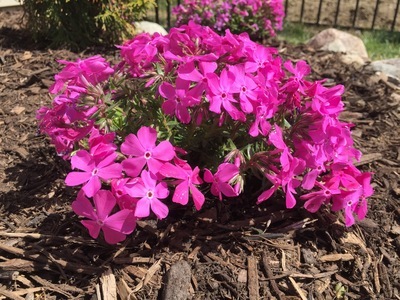
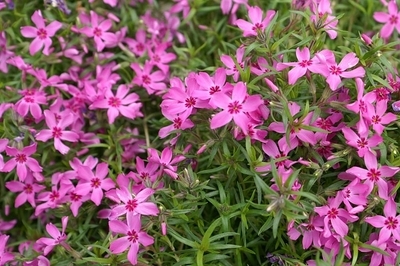 Flowering Groundcovers
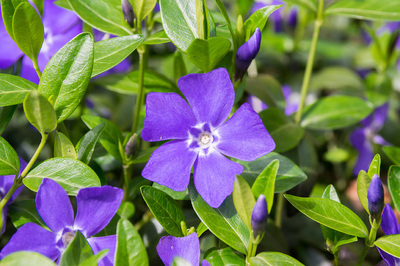 Evergreen Groundcovers
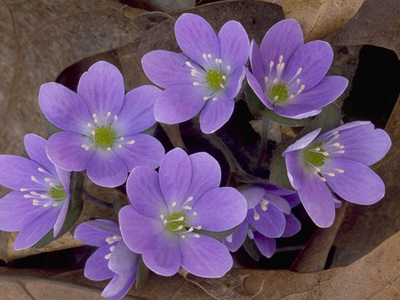
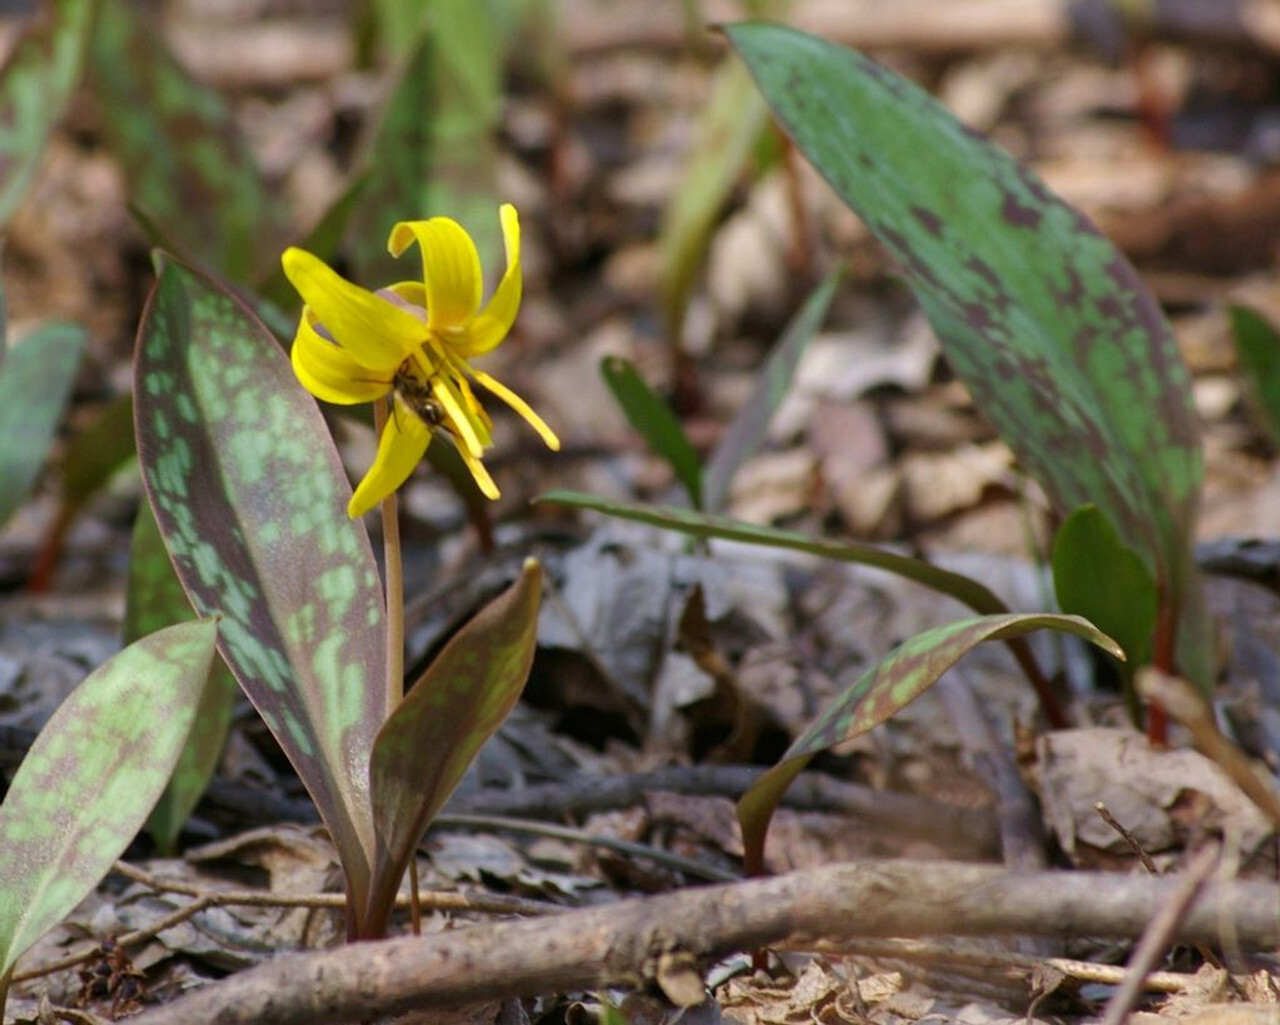 Spring Ephemerals
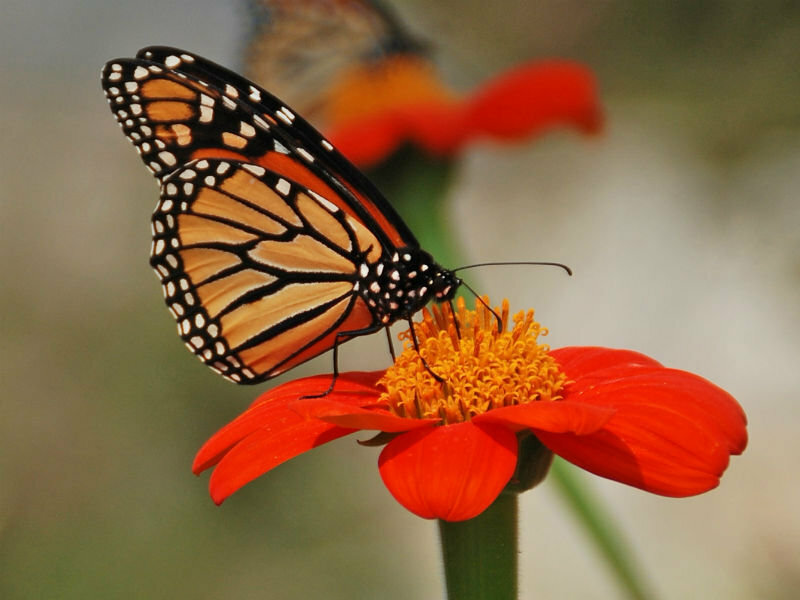 Pollinators
 Shop Bloom Color
 Perennials By Zone
 Medicinal Herb Plants
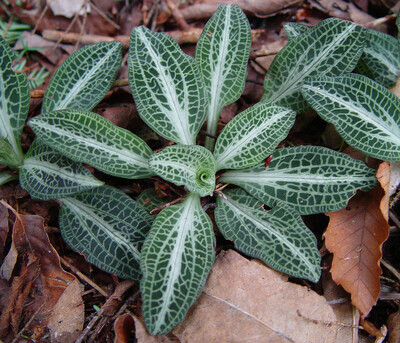
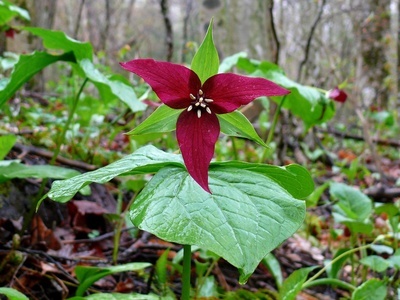 Trillium
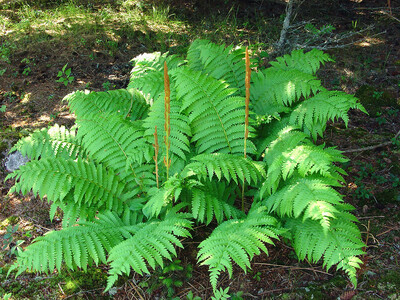
 Ferns for Zone 3
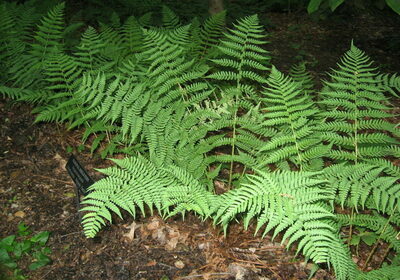
 Ferns for Zone 4
 Ferns for Zone 5
 Ferns for Zone 6
 Ferns for Zone 7
 Ferns for Zone 8
 Christmas bows
 Fresh Wreaths
 Garlands
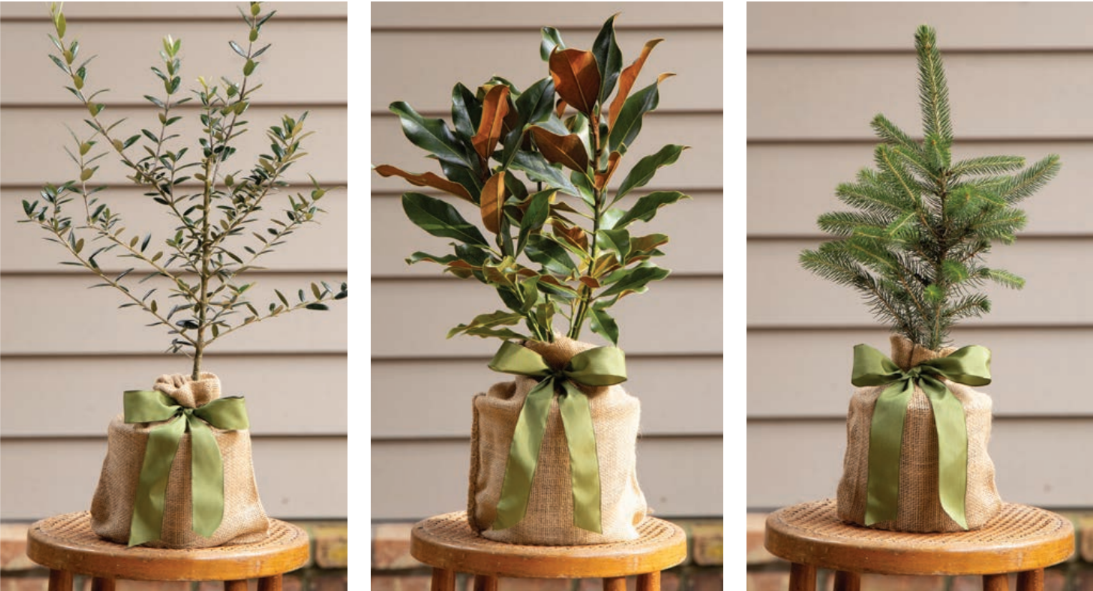 Holiday Gift Trees
 Large Pine Cones
 Live Mistletoe
 Shop Trees By Zone
 Tree Seedlings
 Fast Growing Trees
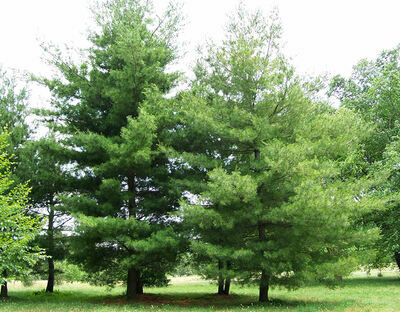
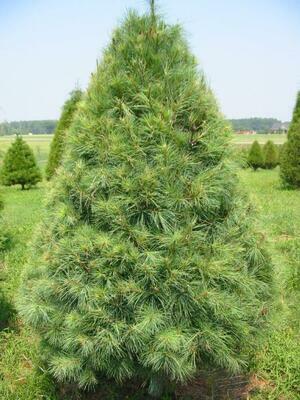
 Pine Trees
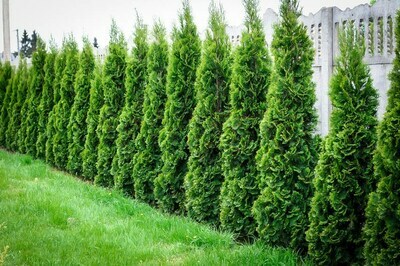
 Evergreens
How to plant bare root ground covers
The first step is to correctly till or loosen the top 6 inches of soil where the ground cover is to be planted.
After properly preparing the soil in the planting area, it is time to plant your bare root ground cover plants.
Using a small spade, dig a small hole for the plant. Your recently tilled soil should make this task quite easy.
Next, remove the plant from the container and insert the root into the hole. Do not force the plant into the hole as the root must be straight and not curved. If necessary, remove the plant from the hole and dig the hole slightly deeper to allow the root to be straight.
Cover the root with soil, and water immediately.
Bare root plants should be spaced 4 inches to 8 inches apart resulting in approximately 4-5 plants per square foot of space.
Planting bare root ground cover is fun, and the results will be worth all of your effort.
________________________________________________________________________________________________________________________
How To Plant Bare Root Ferns
When you receive your bare root, it will need to be planted as soon as possible. You will need the basic garden tools such as a shovel to dig a hole, mulch, water, etc. There are very few steps to planting the fern.
The first step is to pick the location that you want to plant the fern. Remember that ferns prefer partial to completely shady areas. They also like their soil to be moist and rich. The next step is to dig a hole. The size of the hole needs to be wide enough to hold the tuber and deep enough to allow for a few inches distance between the tuber and the top of the dug hole. Once the hole is dug, add the tuber. If it is not obvious which end of the tuber should be pointing up, put it in the hole sideways. Smaller ferns can be planted close together, however larger ferns, like the Christmas Evergreen, Royal Ferns, etc., need more distance between them.
The next step is to add a layer of mulch. (Not required) A good mulch, such as aged compost, bark mulch, etc., is best for the area to retain moisture. Straw can also be used to help with keeping the soil moist and cool. Water as much as is required in order to keep the soil moist. Do not over water. This will cause the tuber to rot. The fronds will begin to pop up as the ground starts to get warmer in the late spring.
___________________________________________________________________________________________________________________________________________________________
How To Plant Bare Root Perennials
Bare root perennials are easy to plant and maintain. When your plants arrive, they will be in a dormant state so plan on getting them in the ground within a day or two. Getting your new perennials planted as soon as possible help give them the best chance to thrive in your garden.
When you are ready to plant, inspect the roots for any damage or dryness, etc. If the roots seem dry, soak in water for about an hour. Use a good quality potting soil with good drainage or add some peat or sphagnum moss. Making sure the dormant plants have adequate drainage at this point is critical to the success of the plant as it will deter mold and diseases, as well as help much-needed nutrients, reach the roots.
Dig hole deep enough for the longest roots and wide enough to give roots some room to spread. After you dig the hole, gently set the plant in the prepared hole and lightly sprinkle your good drainage potting soil around the roots until it is about half full. Carefully water the half-filled hole and allow the water to settle for 15 to 20 minutes. Fill in the rest of the hole around the roots and water again. Carefully press and pack the soil at this point, as it could damage the delicate roots.
After planting, inspect the exposed areas of the plant and pinch or trim any damage, etc. Water daily if weather allows. Early morning is the best time for watering the new plants. Drainage and evaporation will be best during the day when it is sunny and warm.
__________________________________________________________________________
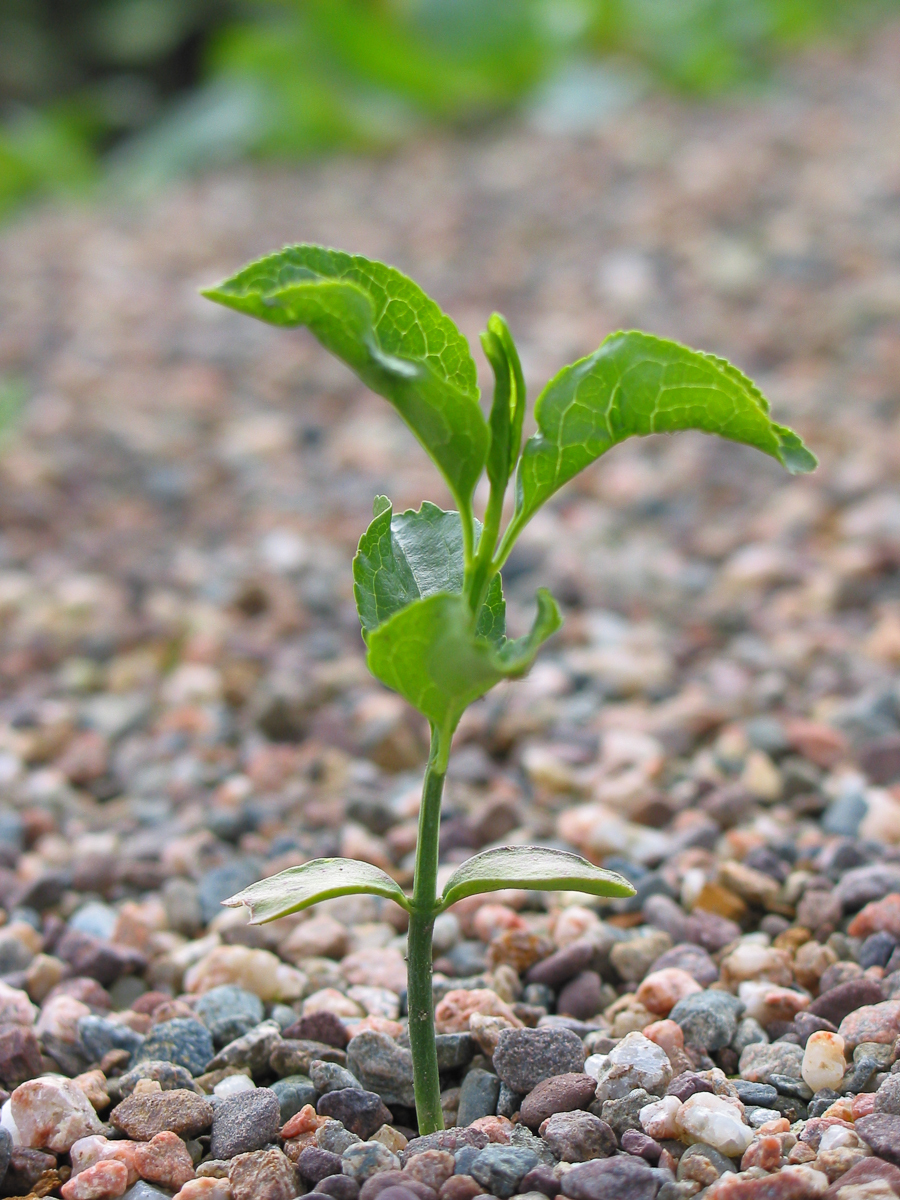
How To Plant Bare Root Trees
If you plan to plant trees in your yard, then a bare-root tree is exactly what you need. Although not many consider a bare-root tree for planting, its advantages are plenty.
The Bare-Root Advantage
It would help if you didn´t have to wonder why a bare-root tree is a great idea to use. When you see how they work for others, you´ll want to incorporate them as well. A few of the advantages you can enjoy include:
Planting your Bare-Root Tree
With your bare-root tree in hand and spot picked out for planting, it is now time to get started with the planting process.
Getting the Hole Dug for Planting
Prepare the hole by ensuring it will be two times as big as the diameter of the roots. It also needs to have good depth so that the roots are comfortable enough and not crowded.
It is also a good idea to have some soil placed that can act as a base for the crown to remain at an even level with the soil. This will also permit the roots to spread out.
Whether you prefer to have your backfill full of extra nutrients or not, it should allow your tree´s roots to grow beyond their planting spot.
With the added bone meal, the extra minerals the tree needs will be supplied to continue the tree growth, and the roots remain strong.
Begin to Plant
Now you need to have the roots spread among the soil. Double-check that the crown is at the soil level. If it is too deep for the crown, then your tree may ultimately fail before it gets started.
While keeping the tree upright and straight, begin to fill the backfill. Make sure soil is in between each root. Ensure that the soil is pressed by hand to decrease any air pocket. Do this until you have filled the home.
With the hole filled, you can now add water that will be added through a ridge along the hole´s edge. This edge will act as a basin for the water to be added. This is where the water will be soaked into the soil. You want to make sure that enough water is used to wet the roots.
Adding fertilizer and mulch is an essential step following the planting of your bare-root tree. With fertilizer and mulch, your tree´s water will be sustained, and weeds will not be able to grow.
Although fertilizing and mulching is a good thing, you should put it off until after a year, and this is due to the possibility of the fertilizers being too strong and ending up killing your tree.
Now that your bare-root tree is planted, you can easily maintain it.